Last Updated: November 17, 2026
Quick Summary
Personal branding headshots are professional portraits built around your business identity, not just your face. They show what you do, what you value, and where clients meet you, and one session produces a full image library instead of a single file.
- A standard headshot is one cropped portrait; personal branding headshots are a set for profiles, websites, and social media.
- Plan each platform’s crop, mood, and file size before shoot day to turn photos into a working image library.
- Bring props from your actual work, like a laptop or notebook, so your hands and expressions have something natural to do.
- Confirm image count, usage rights, retouching, and file formats in writing before the shoot.
- Check reviews for whether clients mention feeling comfortable and receiving coaching, not just the portfolio.
Table of Contents
- What Personal Branding Headshots Really Are
- Why Your Business Needs More Than One Photo
- Personal Branding Headshots Ideas That Fit Your Work
- Brand Photography Examples Worth Copying
- How to Take Branding Photos: A Prep Checklist
- Branding Photoshoot Ideas by Platform and Goal
- Choosing a Photographer and Reading Their Portfolio
- Wardrobe, Colors, and What to Leave at Home
- Session Budget, Usage Rights, and Deliverables
- Book Your Session and Build Your Image Library
- Frequently Asked Questions
What Personal Branding Headshots Really Are
Personal branding headshots are professional portraits built around a specific person’s business identity, not just a pleasant face. You can see professional headshots examples that work for business to understand what these photos look like. They show how you work, what you value, and where clients meet you. At HeadShot Rescue, we treat these sessions as image planning first and photography second. (Source: visual content marketing)
A standard headshot answers one question: what do you look like? Personal branding headshots answer several: what do you do, how do you treat people, and why should someone trust you with their business. That difference shapes everything from wardrobe to location.
How They Differ From a Standard Headshot
A standard headshot is a single, tightly cropped portrait against a plain background. Personal branding headshots are a set: a clean portrait for profiles, working shots for your website, and lifestyle portraits for social media. One session produces an image library instead of one file.
The practical difference shows up in usage. A single portrait fits a LinkedIn profile and little else. A full set covers your website, proposals, and marketing images without repeating the same photo everywhere.
Why Your Business Needs More Than One Photo
One photo gets old fast. Repeat it across your website, social profiles, and printed materials and it starts to look thin. A set of personal branding headshots lets you match the image to the moment: a formal portrait for press, a relaxed working portrait for your about page.
Consistency matters more than volume. When every image shares the same lighting, color palette, and mood, your brand identity reads clearly whether someone finds you on LinkedIn or your own site. That consistency is what builds recognition over time.
Clients notice the difference too. A dated or reused photo signals a business that stopped paying attention. A current, varied set signals one that is active and easy to work with.
Personal Branding Headshots Ideas That Fit Your Work
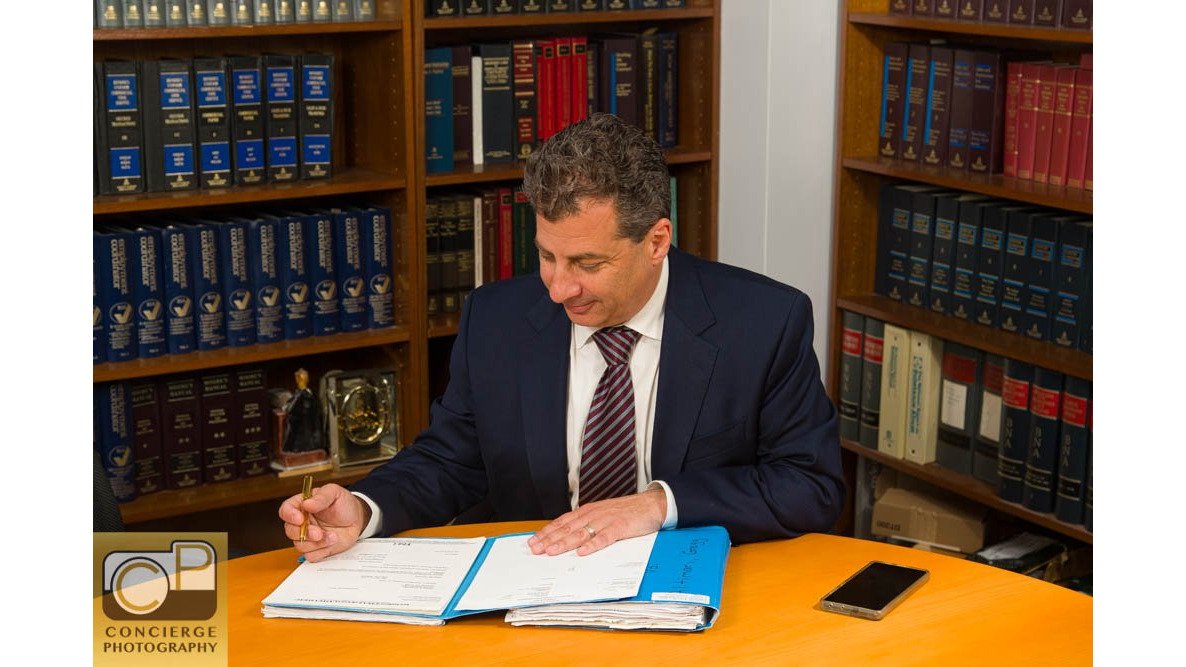
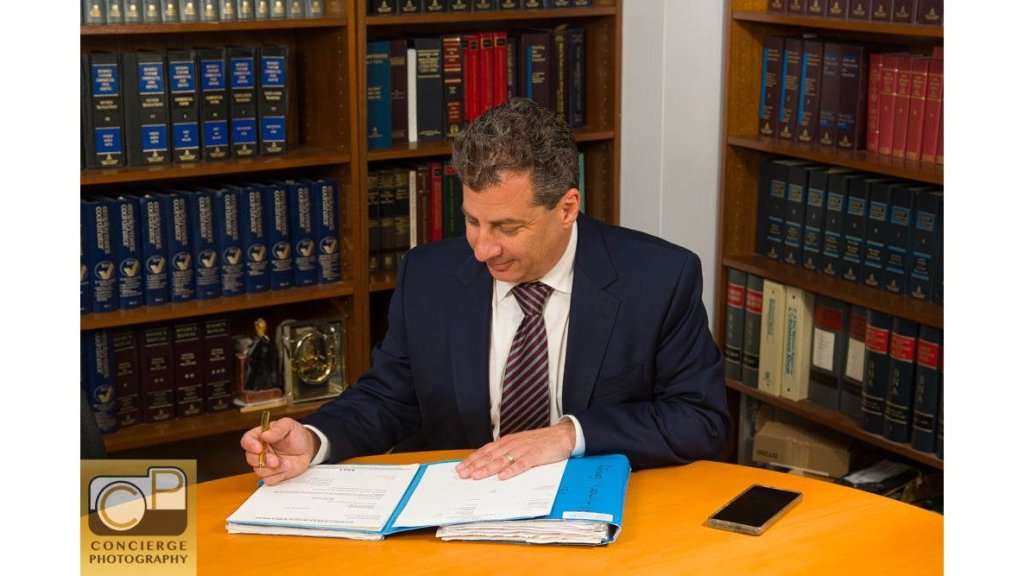
The best personal branding headshots ideas come from your actual workday, not from a pose catalog. A real estate agent photographed at a listing says more than a studio portrait ever will. A restaurant owner in the kitchen tells customers who is cooking.
Start by listing where your photos will live. Website header, about page, social profiles, proposals, signage. Then pick scenes that match each spot. A consultant might want a seated portrait at a desk, a standing shot in a doorway, and a candid mid-conversation frame.
Bring props that belong to your work. A laptop, a notebook, a tool of your trade. They give your hands something to do and your face something to react to.
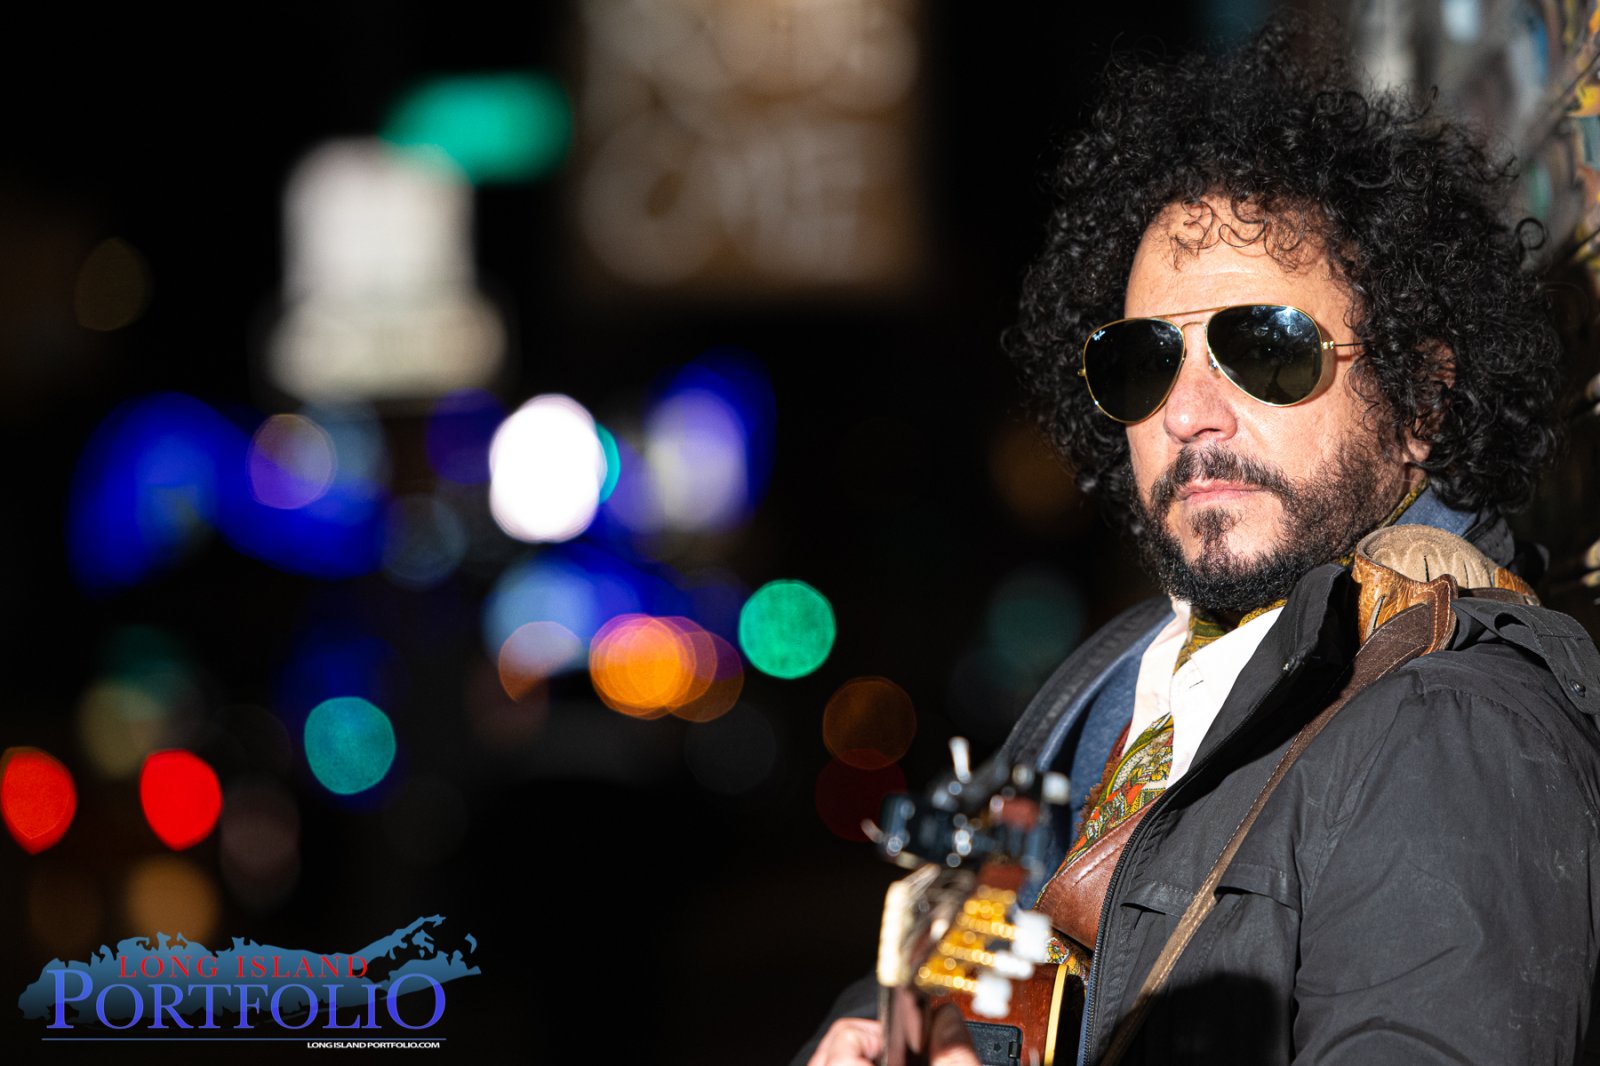
Brand Photography Examples Worth Copying
Look at brand photography examples from your own industry before your session. You will notice the strongest ones share a few traits: soft natural light, uncluttered backgrounds, and expressions that look like the person just paused mid-sentence. Our professional headshots examples that work for business show how that plays out across different professions.
Copy the structure, not the person. Note the framing, the crop, the amount of background. Those choices travel well between industries. A portrait that works for an attorney often works for an accountant with a different wardrobe and setting.
Skip the examples that feel over-produced. Heavy retouching and stiff posing date quickly, and they rarely match how a real business looks day to day.
How to Take Branding Photos: A Prep Checklist
Good branding photos start weeks before the shoot. Use this checklist to keep the process calm:
- List every place the photos will appear, with sizes
- Choose three to five looks that match your brand aesthetic
- Confirm wardrobe, including a backup option
- Pick locations and check the light at the time of day you will shoot
- Write a shot list organized by use case
- Confirm image count, usage rights, and attendees in writing
- Ask what happens to the photos afterward
- Bring water and a shelf-stable snack
A shoot only continues if you keep agreeing to every pose, wardrobe choice, and direction. You can decline any request at any point, for any reason, without explaining why.
Branding Photoshoot Ideas by Platform and Goal
Different platforms want different crops, formats, and moods. Planning the shoot around where each image will land makes the results easier to use.
Website header and hero banners. These are wide and short. Plan a horizontal frame with breathing room on both sides so text can sit over one side. A 16:9 or wider crop is the safe bet. Ask for a version with clean space on the left and one with clean space on the right so your designer can flip the layout.
About page and team page. This is where a working portrait earns its keep. A three-quarter or half-body shot at a desk, in a doorway, or mid-task reads warmer than a tight headshot. Vertical or square crops work here because the page layout usually stacks images beside text.
LinkedIn profile photo. Tight, clear, and shot against a background that separates you from it. Square crop, face filling most of the frame, eyes in the upper third. This is the one image where a plain backdrop beats a busy workspace.
LinkedIn banner and cover images. Wide and short again, but with more room for context. A workspace wide shot or a horizontal portrait with negative space works well. Keep the important part of the image away from the bottom left, where your profile photo overlaps.
Social posts and stories. Square for feed posts, vertical 9:16 for stories and reels covers. Candid, in-the-moment frames outperform posed ones here. Ask for a few looser shots where you are laughing, talking, or moving.
Email signatures and newsletters. A small circular or square headshot is standard. Make sure the face reads clearly at thumbnail size, which means simple backgrounds and strong contrast.
Press kits and media requests. Editors want a high-resolution vertical portrait and a horizontal option, plus a short bio. Ask your photographer for a press-ready set with a clean background and a neutral expression.
Proposals, pitch decks, and print. These need higher resolution and often a transparent or solid background. Confirm file formats and resolution before the shoot so you are not stuck resizing a web image for a printed brochure.
Map your branding photoshoot ideas to goals as well as platforms. If your goal is client trust, lead with a warm, direct portrait. If your goal is showing process, use behind-the-scenes images and workspace portraits. If your goal is hiring, show your team and your space.
A simple rule: for every platform on your list, decide the crop, the mood, and the file size before shoot day. That one planning step turns a folder of nice photos into a working image library.
If your LinkedIn photo is holding you back, our breakdown of why your LinkedIn profile photo is costing you business explains how much that first impression carries before anyone reads a word.
Here is how each platform shapes the crop, mood, and file you should plan for.
Platform | Crop or format | What works best |
|---|---|---|
Website header and hero banners | 16:9 or wider horizontal | Breathing room on both sides for text |
About page and team page | Vertical or square | Three-quarter or half-body working portrait |
LinkedIn profile photo | Square, face filling most of frame | Plain backdrop, eyes in upper third |
LinkedIn banner and cover | Wide and short | Workspace wide shot with negative space |
Social posts and stories | Square for feed, vertical 9:16 for stories | Candid, in-the-moment frames |
Email signatures and newsletters | Small circular or square | Simple background, strong contrast |
Press kits and media requests | High-resolution vertical plus horizontal | Clean background, neutral expression |
Proposals, pitch decks, and print | Higher resolution, transparent or solid background | Confirm file formats and resolution before the shoot |
Choosing a Photographer and Reading Their Portfolio
Check websites, portfolios, and Google reviews before booking headshot photography. Read for two things: whether clients mention feeling comfortable during the shoot, and whether they mention the coaching they received. Those reviews tell you more than a gallery of perfect faces.
Look for a portfolio with range. If every image shares one personal style, ask whether the photographer can adapt to yours. A good fit is someone who asks about your business goals and image placement before quoting.
For actors and creative professionals, ask directly whether the photographer understands what casting directors want. A general corporate studio and a portfolio-focused session are different products.
Wardrobe, Colors, and What to Leave at Home
Wardrobe choices should match your brand aesthetic and the backgrounds you picked. Solid colors read cleanly on camera. Busy patterns compete with your face. Bring options and let the photographer help you decide in the light you will actually shoot in.
Leave at home: logos you do not own the rights to, distracting jewelry, and anything you would not wear to meet a client. Bring a backup outfit in case a color reads differently on camera than in the mirror.
Session Budget, Usage Rights, and Deliverables
Pricing depends on session length, image count, locations, and how the images will be used, so we quote each project individually. Our pricing page lists starting points, and we customize every quote once we understand your needs. What matters more than the starting number is the total cost of ownership, so here is how to read a quote line by line.
Session fee. This covers the photographer’s time, studio or location setup, and direction on the day. A shorter session with a tight shot list often beats a long session with no plan.
Image count and selection. Ask how many final images you receive and how many are captured. Confirm whether you choose the selects or the photographer does, and whether you see proofs first.
Retouching. Ask what is standard and what costs extra so there are no surprises.
Usage rights and licensing. This is the part most people skim. Confirm whether the images are licensed for your own marketing use, for advertising, for print, and for how long. Ask whether the license is exclusive to you or whether the photographer can use the images in their portfolio. Get the answer in writing.
Deliverables and file formats. Ask for high-resolution files for print, web-optimized files for your site, and the crop sizes you planned for each platform. Confirm the delivery timeline and how you receive the files.
Add-ons. Extra looks, additional locations, makeup, rush delivery, and extended licensing are common add-ons. Price them before you book so the total is clear.
Storage and refresh. Plan to refresh your image library periodically, especially if your brand, team, or offerings change.
Confirm in writing before the shoot: the arrangement, image count, usage rights, location, and who will attend. Ask what happens to the photos afterward, including whether they can be used in advertising. For any shoot involving minors, confirm that a parent or guardian can be present for the entire shoot before agreeing.
Keep a copy of anything you sign. A simple log of past shoots, agreements, contacts, and outcomes saves confusion later. Watch out: a low session fee paired with narrow usage rights can cost more in the long run than a higher fee with broad rights, so compare the whole package.
Book Your Session and Build Your Image Library
The gap between a business with one old photo and one with a working image library is mostly planning. Decide where the photos will live, pick the looks that match your brand, and confirm the details in writing before shoot day.
HeadShot Rescue has helped more than 500 clients over 30 years, with a 5-star rating, and we build sessions around your goals. Our creative direction covers studio and on-location work, and we focus on natural, non-stiff imagery that matches how you actually work. If you are ready to plan, contact us and we will get back to you.
Your brand deserves images that look like you on a good day, not a stiff pose from five years ago. HeadShot Rescue offers experienced creative direction throughout the session, studio and on-location options, and customized planning based on your business goals and image placement. Get started with HeadShot Rescue and build an image library that works across your website, marketing, and social media.
Frequently Asked Questions
What are personal branding headshots?
They are portraits made for your whole brand, not just one profile picture. A session usually produces a tight headshot for LinkedIn, a half-body working portrait for your website, and lifestyle shots that show you in action. The goal is a set of images that look like the same person in the same visual style. At HeadShot Rescue, we plan each shot around where it will be used, so the library works across your site, social media, and marketing materials.
How do I prepare for personal branding headshots?
Start with a short shot list tied to where each photo will live. Pick wardrobe options in solid colors that match your brand, and bring backups on hangers. Get good sleep the night before and eat something beforehand. Bring water and a shelf-stable snack for longer sessions. If you freeze up in front of a camera, say so when you book. A photographer who coaches you through poses will get natural expressions far faster than one who just clicks.
What should I wear for a personal branding headshot?
Wear what you would wear to meet your most important client. Solid colors and simple patterns photograph best, and layers give you options mid-session. Skip busy prints, thin stripes, and logos that date quickly. Avoid colors close to your skin tone, which can wash you out. Bring two or three outfits and let your photographer help you choose based on the background and lighting.
What is the difference between a headshot and a branding photo?
A headshot is one tight frame of your face, usually from the chest up. A branding photo is any image that shows how you work: you at a desk, in a kitchen, on a job site, or with a client. Branding photos carry more story and context, while headshots carry recognition. Most people need both. A headshot gets you remembered, and branding photos get you understood.
How long does a personal branding photoshoot take?
A single-look headshot session can wrap in under an hour. A full branding session with multiple outfits and locations usually runs two to four hours. Add travel time between locations. Ask your photographer for a written schedule before the day so you know what to expect. Longer is not always better. A focused two-hour session with a clear shot list often beats a scattered half day.
How do I use personal branding photos on my website and social media?
Match each image to its job. Use a tight headshot for your LinkedIn profile and email signature. Use a working portrait on your about page. Use lifestyle shots in social posts and ad creative. Keep a simple folder structure so you can find the right file fast. Change out seasonal or campaign images while keeping the core headshot stable, so your face stays recognizable everywhere people find you.
Get in touch